Welcome to CloudMonitor!
Follow the steps below to set up CloudMonitor with your Azure cost data and start receiving personalized cost insights and recommendations.
Note: These setup steps only need to be completed once.
Important Information
This guide applies to the free one-month SaaS trial of CloudMonitor.
We recommend you to Use the SAAS Version which allows you to connect your Azure data quickly and experience the platform’s cost optimization insights before making a purchase decision.
However, we recommend completing the SaaS installation first to validate your setup and experience the product
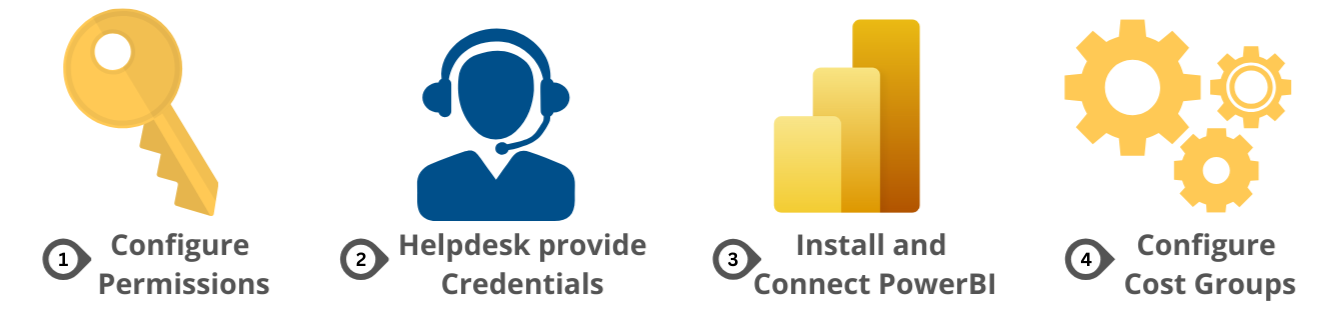
Step 1: Set Up Permissions (4 Quick Steps)
Completing all four steps below ensures CloudMonitor can securely access and analyze your Azure costs.
Think of these as one single setup flow each step builds on the previous one
Step 1.1 Create the CloudMonitor Service Principal (Start Here)
This Service Principal acts as CloudMonitor’s secure identity within your Azure tenant.
Once created, keep the App ID and Tenant ID handy you’ll need them in the next steps.
Create Service Principal →
Step 1.2 Grant Subscription Reader Permissions
Now that you have a Service Principal, it needs permission to view your Azure resources.
Assign Reader access to every subscription you want CloudMonitor to monitor.
After completing this, you should see your Service Principal listed under Access Control (IAM).
Grant Reader Permissions →
Step 1.3 Grant Billing Account Access
Next, give the Service Principal permission to access Billing Accounts so CloudMonitor can collect and analyze cost data.
Make sure you grant Billing Reader role at the billing account level (not just subscription).
Configure Billing Account Access →
Step 1.4 Configure Cost Export Storage
Finally, set up a Storage Account for cost exports. This is where Azure will send your cost and usage data for CloudMonitor to process.
After configuration, verify that scheduled exports are set up and active.
Configure Storage for CloudMonitor →
Step 1 Completion Check
Before moving ahead, confirm that you have:
Created the Service Principal
Granted Reader access to subscriptions
Configured Billing Account access
Set up cost export storage
If all are complete, continue below
Step 2: Raise a Support Ticket
Once the above configurations are done, raise a support ticket with the required details.
Our team will verify your setup, run health checks, and provide credentials to connect Power BI.
Raise Support Ticket →
Step 3: Download and Connect Power BI to the CloudMonitor Analytics Engine
Install the CloudMonitor Power BI App from Microsoft App Source and connect your cost data to start visualizing insights and recommendations.
Download and Connect Power BI App →
Step 4: Configure Admin App, Cost Groups & Budgets
Set up the Admin App to define cost groups, assign access permissions, and manage budgets.
Was this article helpful?
That’s Great!
Thank you for your feedback
Sorry! We couldn't be helpful
Thank you for your feedback
Feedback sent
We appreciate your effort and will try to fix the article